
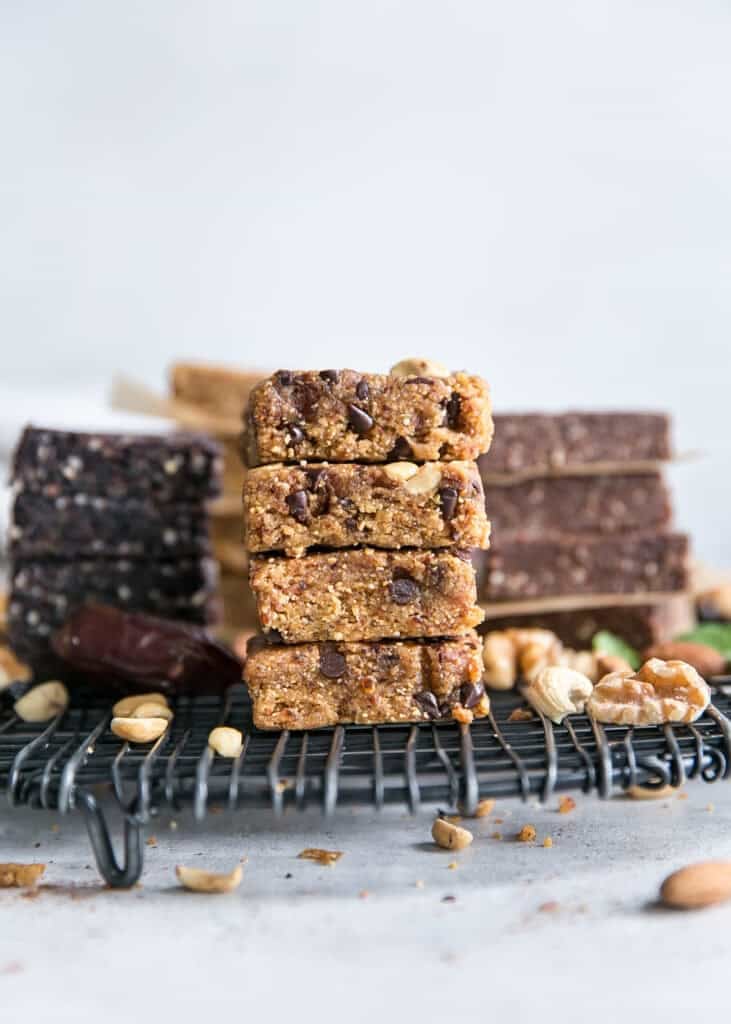
Sharing a step-by-step guide for How To Make Nut Milk. Use a high powered blender or food processor and a mesh strainer, cheesecloth or nut milk bag. Just a few simple ingredients and so easy!

So have you ever thought about making your own nut milk at home? Maybe, maybe not?
It’s kind of like making your own nut butter. Once you do it once, you realize how simple it is and question why you didn’t start sooner.
Now I will admit I am not one to *always* make homemade nut milk, but it is seriously so easy and I need to do it more often. It also tastes unbelievably fresh.
Just 2 Ingredients
Oh, did I mention all you need are nuts and filtered water?
If you’ve ever checked out the back of your generic store bought nut milk, you know there are loads of other added ingredients in there. Not that they’re all bad, they’re just needed to help keep them fresh for a longer period of time.
But if there are ingredients in the nut milks (often they’re blends of two nuts) that you can’t have, making your own is a great way to avoid any ingredients you might be sensitive to.

Anyways, I think you should give this whole homemade nut milk thing a shot. It’s quite delicious and only takes a little bit of time. And if you keep scrolling, I’ll show you what to do with the leftover nut “pulp”.
How to Make Nut Milk at Home
In this guide I’m sharing how to make some favorite nut milks like:
- homemade cashew milk
- unsweetened almond milk
- pecan milk
- and more!
It’s such a great recipe (if one can call it that) to have on hand if you typically rely on store bought nut milk and run out but need to make some in a hurry.
It also tastes amazing in coffee.
Other Nuts to Use
You can also make walnut milk, hazelnut or even brazil nut. And/or blends! I’d recommend soaking those as well.
Note: Drain nuts and rinse before next step.
Step 1- Prepare the Nuts
For *most* nut milks, you’ll want to soak the nuts. Just place the nuts in a bowl with filtered water and refrigerate.
- Homemade Almond milk: Soak for 8 hours or overnight
- Homemade Cashew Milk: Soak for 4 hours. You can use roasted cashews for more flavor or raw cashews work as well. This brand makes a great “mylk” cashew. Soaking the cashews is going to give you the best results for a creamy nut milk.
- Homemade Pecan Milk: optional soaking, since it’s a softer nut. But 2 hours is sufficient.


Step 2 – Add Nuts to Blender with Fresh Water
Add nuts (previously soaked and rinsed) to blender with fresh water.
Most nut milk ratios are 1 cup of nuts to 4 cups water.

Step 3 – Blend
Blend the nuts with the fresh water for about 3-4 minutes–until the liquid is opaque. You can also use a food processor here, it just may take longer until the nuts are finely broken down.

Step 4 – Strain the Nut Milk
Strain nut milk through what one calls a “nut milk bag“ or even cheese cloth works.


Alternatively, you can also use a fine mesh strainer shown here for cashew milk.
But if you’re planning on making a lot of homemade nut milk, the nut milk bags are great. (Also good for squeezing out spinach and zucchini!)
Step 5 – Transfer to Bottled Jar
When transferring to a glass bottle or jar.
TIP: use a funnel for less spills!

How Long Does Homemade Nut Milk Last?
Homemade nut milk is best enjoyed within 3-4 days, since there are no fillers, preservatives or gums to keep the fat from separating.
If you do see any remaining nuts or fat have separated, simply shake before (make sure lid is tight) before using.
Flavor Variations
Cinnamon Vanilla – Blend in 1/2 teaspoon cinnamon with 1/2 teaspoon vanilla extract.
Date Sweetened– Blend in 2 Medjool dates for a hint of natural sweetness.
Chocolate – Blend in 1 tablespoon of cocoa powder
What to do with the almond pulp
So what’s left behind in the nut milk bag is the pulp. No need to throw it away! If making almond milk, you can actually make almond meal from it.
- Spread pulp on baking sheet in one layer – break up as many clumps as possible
- Bake at 200ºF for about 2 hours. Or you can use a dehydrator. I don’t have one of those so not sure on the settings. I assume similar time!
- Allow meal to dry completely before processing quickly through food processor.
- Use for baking or you can even process it further until butter forms.


Let me know if you make this homemade nut milk by leaving a comment and rating below! It helps others learn more about the recipe too. Xx Ashley
Want to Save This Recipe?
Enter your email & I’ll send it to your inbox.
How to Make Nut Milk

Ingredients
Almond Milk:
- 1 cup raw almonds; soaked for 8 hours
- 4 cups fresh water
Cashew Milk:
- 1 cup raw cashews; soaked for 4 hours
- 4 cups fresh water
Pecan Milk:
- 1 cup raw pecans; not soaked or soaked for 4 hours
- 4 cups fresh water
Optional add-ins:
- 1/2 teaspoon cinnamon
- 2 Medjool dates
- 1 teaspoon maple syrup
- 1 vanilla bean, scraped or ½ teaspoon vanilla extract
- 1 tablespoon unsweetened cocoa powder
Instructions
- Depending on what kind of nut milk you’re making, soak nuts accordingly. I did not soak pecans but you can if you’d like. You’ll need blender or food processor, fine mesh strainer or nut milk bag, large bowl and bottles or jars.
- Drain: Add soaked nuts to strainer and rinse with fresh water.
- Blend: Add nuts into blender with 4 cups fresh water; blend for 2-3 minutes. Nut milk should be creamy and opaque.
- Strain: Place nut milk bag in large bowl (or mesh strainer over large bowl or 4 cup measuring cup). Gently pour milk from blender into nut milk bag. If using nut milk bag, squeeze all liquid out as best as you can into bowl – what is left behind is the pulp. See in post below recipe card for what to do with leftover.
- Store: Gently pour nut milk into glass bottles – best to use a bowl with a pouring spout or use a funnel. Store nut milk in fridge. Best enjoyed within 1 week. Settling is natural – just shake bottle before pouring.
Recipe Notes:
Nutrition Information


Leave a Reply