Considering attending a food photography workshop? I went to my first one in Toronto and it was such a great experience. I thought it may be helpful to share bits and pieces of it with you on the blog!

Hi guys! So this past weekend I was in Toronto for a 2-day food photography workshop, hosted by Rachel Korinek and Sophie Bourdon. It was a workshop where we really dove into food photography, composition and styling. A lot of you on Instagram wanted to hear more about the workshop so I thought I’d share a full post on the blog.
Why this workshop?
In Toronto, of all places. Well, first off I love visiting Toronto and this workshop was the perfect excuse to take a trip. It is really not too far of a drive,about 4-5 hours. And because I have so many family friends there, I wasn’t too worried about accommodations (thank you Caitlin for letting me stay at your place!).
Second, after constantly referring to Rachel’s website – Two Loves Studio– over the past year and diving into her online course Lightroom Magic I knew this workshop would be amazing. Sophie Bourdon is also an amazing food stylist and photographer, who blogs at The Green Life. Combined these ladies shared so much knowledge with us!
The food photography workshop was located in the Geary Avenue Studio, also home to The Props. We used a ton of props (duh) from their inventory to help style our shoots. That place was INSANE, you guys. Every food photographer’s dream. The entire first floor of the studio was filled with shelves upon shelves of every single type of prop and backdrop you could imagine. The picture below doesn’t even begin to showcase their inventory.
If you’re in Toronto area and in need of props to rent, definitely check them out.

Day 1 – Getting Technical with Composition
The first day we started by going over everything about composition. All of the “rules” that are used to create a great photograph. Often the more elements used, the better the photo.
For me, this is something I struggle with. I really wanted to get a better understanding of composition and the process. I know it is something that will come with more practice. And even watching Sophie and Rachel’s processes helped me think about what composition tools I could use to find a better flow not only in my own work process, but also my photography.
Part of that is having a plan. I do typically make a list of shots I want before I start each shoot, but other days I feel rushed and just need to get the show on the road. But going forward I think being as intentional as I can be with each photo shoot is going to make a world of a difference.

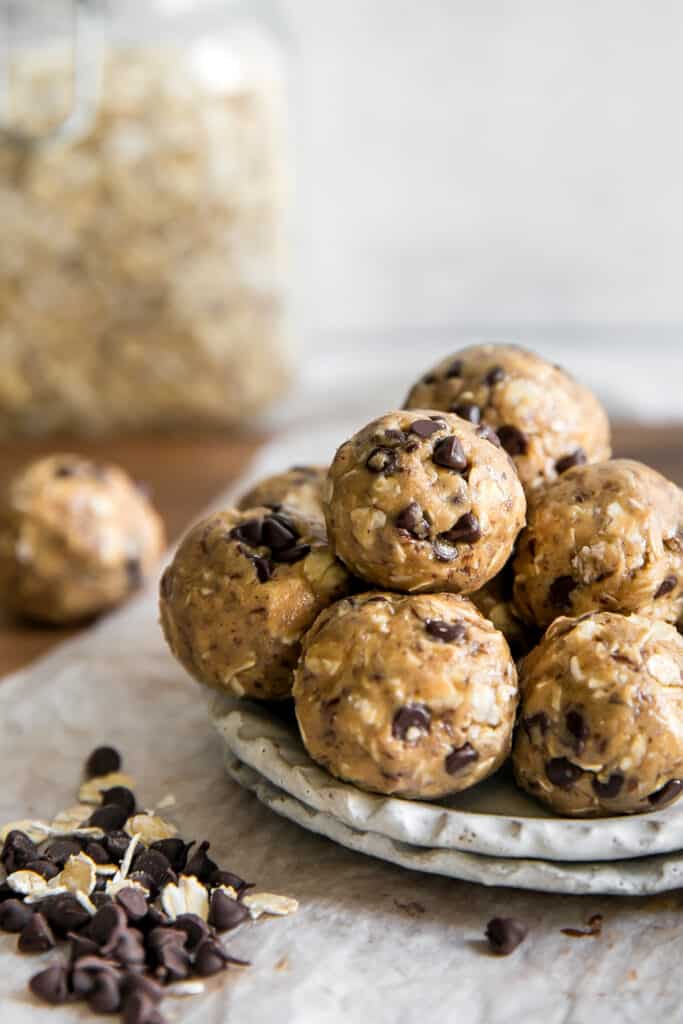
We took turns playing around with the composition of a couple of different setups, one being these rustic tomatoes…

And the other setup being drinks.

Oh, we also had this amazing vegan lunch bowl made by The Living Kitchen Co.

Takeaways from Day 1
- Composition is everything. While a good photograph starts with great lighting, a GREAT photograph can be determined by its composition.
- Backdrops, props, layers and textures all play an important role in food photography.
- Take the time to plan out each shot. Think about what kind of mood you’re trying to convey to your audience. Planning your shoots will allow the whole process to run much more smoothly.
Day 2 – Practicing Styling and Composition
Day two was all about using the tools we learned from day one to create a well styled and composed photograph.
We had toast for lunch and all played with various composition. There were SO many toppings to choose from, but ultimately I went for the beet hummus. At least to photograph… I made a couple of other “ugly” toasts just to eat 😉
Rachel helped me think outside the box a little bit here – adding the bits of green and feta crumbles onto the plate, as well as sneaking a piece of pink toast up in the corner of the image.

I then decided to cut the toast and play around a bit more with a different background. Choosing a different background can change a photo dramatically.

We also got to see how Sophie does her beautiful pour shots (she uses a remote!) as well as have fun playing with the setup.


Using someone as a backdrop always makes for a fun photo.

Last but not least we moved onto savory – it is often hard to style brown food, but thinking about ways to bring other colors into the setup can really help! Here used fresh thyme other bits of ingredients to help brighten up the photo a bit.

Day 2 Takeaways
- Be patient with food styling. It might take you a bit to get the food placed a certain way. And even after you snap a couple of pictures, play a couple more times before altering the food – i.e. pouring on the dressing, or cutting into the cake or breaking apart the dish.
- Play with your composition. Watching Sophie and Rachel compose the shot was a good reminder that sometimes the setup isn’t going to be super quick if you want the best shot.
- Practice. Practice Practice. I didn’t truly get the hang of the manual DSLR settings until about a year into my food blogging journey. So I know I need to give myself some time before getting really confident with my setup.
Now to some of you that may surprise you I struggle with my work. It is likely the perfectionist in me. But remember we are all at different parts in our journeys.
If you’re looking to improve upon your food photography, getting comfortable with the manual settings on your DSLR will help.
Understanding light and adjusting those settings to capture your ideal picture.
Take a TON of photos.
Study others’ work. That isn’t to say copy it. But make notes as to why you’re drawn to the photos. See how you can build upon your skills and find your own style.
Let’s chat!
- Have you been to a food photography workshop before?
- Any fellow food bloggers struggle with composition and/or styling?
- Any other questions or comments?!


Leave a Reply