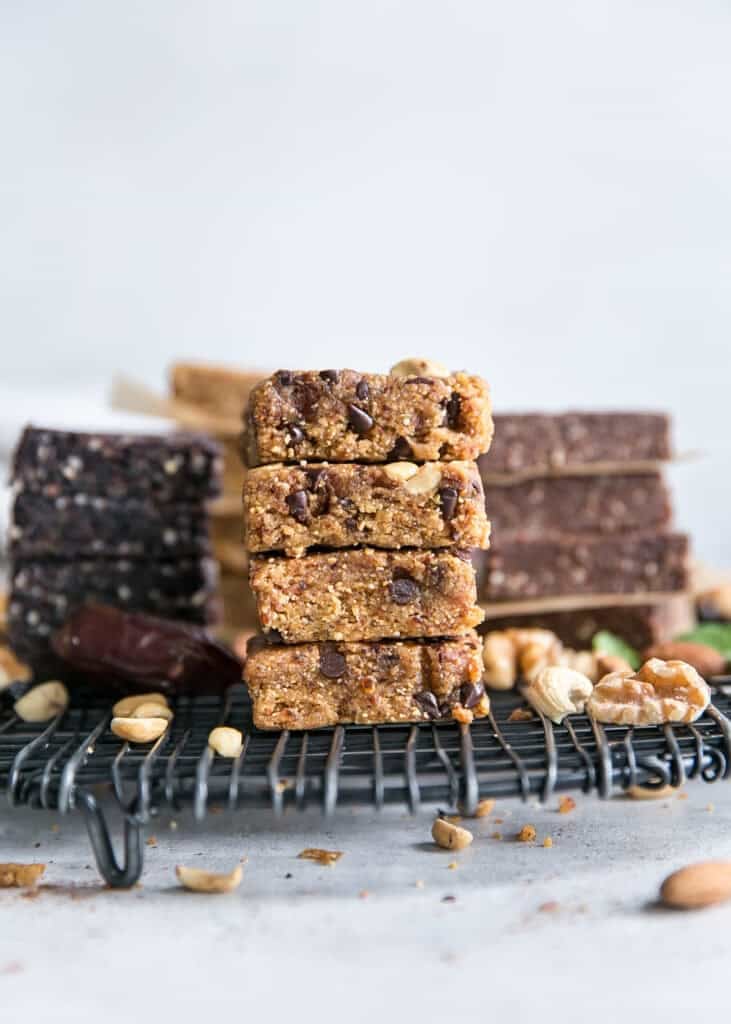
Your friends and family will have no idea these soft and delicious grain-free brownies are made with cassava flour. A naturally gluten-free, nut free and paleo brownie recipe you’ll love.

Want to Save This Recipe?
Enter your email & I’ll send it to your inbox.
This post is sponsored in partnership with Bob’s Red Mill. Thank you for supporting the brands I work with that help me bring you new recipes! As always, all opinions and thoughts expressed are my own.
Cassava what?
I want to call these “Casanova Brownies” because they’ll have you falling in love with every bite.
Casanova – cassava… get it?

Okay but SERIOUSLY. You won’t believe how delicious these brownies are. And they’re made with CASSAVA FLOUR – a new-to-me flour that I’m excited Bob’s Red Mill has added to their collection of products! You may know I am a huge Bob’s fan (who isn’t?) and I’m excited to continue our partnership this year using their high-quality products.
What is Cassava Flour?
Cassava flour is a gluten-free, grain-free and nut-free flour made from the whole root of the cassava plant. Bob’s Red Mill cassava flour has a mild flavor and fine texture that is perfect for gluten free cooking and baking, and it’s also non-GMO project verified.

I wanted to test my hand at cassava flour and it’s been a while since I’ve shared some brownies with you so let’s do this!
Note: Some say it’s a 1:1 conversion with wheat based flours, but unless you’re an avid baker I would use caution when subbing. This recipe was tested several times specifically using Bob’s Red Mill cassava flour.
The Best Cassava Flour Brownies

Ingredients You Need
- dark chocolate chips – please use a higher quality brand if possible! We’re using a full cup of chips and using a cheap store-brand bag will affect the outcome of this recipe.
- unsalted butter – unsalted butter is best here, but oil may work as well.
- granulated sugar – something like coconut for a paleo friendly recipe would be best, but cane sugar also works.
- eggs – eggs help hold everything together here. I haven’t tested this recipe without.
- vanilla – enhances flavor
- unsweetened cocoa powder – I love this one.
- cassava flour – grain free, nut free and gluten free!
- salt & baking soda
How to make Cassava Flour Brownies
These brownies come together like a traditional, fudgy brownie recipe.
Melt Chocolate / Whisk in Sugar + Eggs
First you melt down the chocolate with butter until smooth – you can do this via stovetop or microwave.
TIP: If using the microwave I recommend using half power (my microwave is pretty strong) and time intervals of 30 seconds, whisking until smooth.
Why melted chocolate? Because that’s where the fudge factor comes in.
Next you’ll whisk the sugar into the slightly cooled chocolate–butter mixer. And add the eggs and vanilla.

Combine Dry Ingredients with Wet
Next the dry ingredients – cassava flour, cocoa powder, salt and baking soda – get added into the mixing bowl. The batter will be thick and fudgy-looking – almost a cross between frosting and batter.
Don’t Over-Bake
Then the brownies go into the oven! You’ll need about 17-20 minutes here, but everyone’s ovens are different. And it would be tragic to over-bake these so watch your baking time and brownies closely.
How to tell when brownies are done
While baking time can help give you an idea as to whether or not your brownies are done, the best indicators are your nose, eyes and the toothpick test.
- Your house should begin to fill with the lovely scent of baking chocolate
- Brownies edges should rise slightly
- The top lighter in color
- An inserted toothpick coming out with crumbs – not completely wet batter but also not completely clean.
NOTE: The brownies will set upon cooling (about 45 minutes) and you’ll get a lovely fudgy bite when they’re baked just right.

Recipe Notes
- FLOUR: I have *not* tested these brownies with another flour. I also only used Bob’s Red Mill Cassava Flour so I can’t vouch for results from other cassava flours. I’ve heard different brands can produce different results. Weighing your cassava flour will likely get you the best results.
- BUTTER: You can sub a dairy-free butter but I did not test these with coconut oil.
- SWEETENER: The granulated sweetener is needed her to keep the brownies from being bitter. It is not a good idea to sub with maple syrup or honey as the wet-to-dry ratio of ingredients will then be altered. I did not test with different sweeteners other than granulated and coconut sugar.
- CHOCOLATE CHIPS: Since the chocolate chips also add sweetness to the recipe, it is best to use a high quality chocolate morsels that have some sweetness to them, i.e semi-sweet or 60% dark chocolate. Using a chocolate bar could change the outcome, so best to stick with chocolate chips.
- DO NOT OVER-BAKE: It is best to keep these brownies almost under-done, to avoid crumbling. They’ll set upon cooling. Trust me!

I opted for a little chocolate drizzle and sea salt dusting for a little extra “oomph,” if you will. But these cassava brownies are totally delicious without the extra presentation.
Happy baking!
If you make this recipe, I’d love to hear from you! Leave a comment and review below the recipe letting me know what you think! It helps others find the recipe too. Xx Ashley
The Best Cassava Flour Brownies
Ingredients
- 3 tablespoons unsweetened cocoa powder
- 1/3 cup plus 1 tablespoon cassava flour*, weighed 60 grams
- 1/2 teaspoon fine sea salt
- 1/4 teaspoon baking soda
- 1 cup quality dark chocolate chips, 6 ounces
- 1/2 cup unsalted butter
- 3/4 cup granulated sugar, organic cane or coconut sugar for paleo
- 2 large eggs
- 2 teaspoons vanilla extract
Instructions
- Preheat oven to 350ºF and line 8×8 metal baking pan with parchment paper; set aside.
- Combine dry ingredients: In a medium bowl combine cassava flour, unsweetened cocoa powder, salt and baking soda; set aside.
- Combine wet ingredients: Using medium saucepan over low heat melt together chocolate chips with butter (or ghee), whisking until smooth. If using microwave, use large glass bowl and melt chocolate chips with butter on half power in 30 second intervals, whisking in between time until smooth. Allow mixture to cool slightly, then whisk in sugar until smooth, about 1 minute. Add vanilla and whisk in eggs until combined (or use hand mixer on medium speed). Note: whisking in too much air into the batter while adding the eggs will result higher edges and a more sunken middle.
- Transfer chocolate mixture to large bowl (if you used a saucepan) and add dry ingredients; use large silicone spatula or wooden spoon to mix until combined. Batter will be thick and fudgy, almost frosting-like consistency. Transfer to prepared baking pan, making sure batter is evenly spread into all four corners. Gently bang on the counter to settle the batter if necessary.
- Bake brownies for 17-20 minutes. Watch baking time carefully – Edges of brownies should rise slightly when done. Use inserted toothpick to check for wet batter. If toothpick comes out with very wet batter, brownies probably need another 2 minutes. If toothpick comes out with crumbs, brownies are done. I think it's best to be more cautious with this recipe and bake them almost under-done. You don't want the toothpick to come out clean – that means the brownies are over-done.
- Cool: Allow brownies to cool at room temperature in pan for 45 minutes to 1 hour. You can also cool brownies in fridge.Lift parchment paper and set brownies on cutting board; use large sharp knife to cut brownies into 16 squares. Tip: wipe knife clean with damp paper towel before each cut. ENJOY!


Leave a Reply